Mastering the Art of Professional Posing
Stepping in front of a professional camera can feel intimidating, even for the most confident individuals. The most common question I hear as a photographer is, "What do I do with my hands?" Mastering a few go-to poses can instantly transform your photos from awkward to professional. This guide focuses on simple, effective techniques that work for everyone, regardless of experience.
The Core Principle: Angle and Posture
Before diving into specific poses, remember that professional photography is all about angles. Standing flat and square to the camera often makes people look wider and stiffer than they are. Instead, practice the 'Slight Turn.' By shifting your shoulders just 15 to 30 degrees away from the lens, you create depth and a more flattering silhouette.
Keep your spine long: Imagine a string pulling the top of your head toward the ceiling.
Shift your weight: Putting your weight on your back leg creates a natural, relaxed curve.
Create 'Negative Space': Avoid pinning your arms to your sides; even a small gap between your arms and torso makes you look leaner and more dynamic.
1. The Professional Headshot (From the Shoulders Up)
For headshots, the focus is entirely on your face and expression. To avoid the 'passport photo' look, try the 'Turtle' technique. This involves subtly pushing your chin forward and slightly down. While it feels strange in person, it defines your jawline and eliminates the appearance of a double chin on camera.
Another classic is the 'Soft Tilt.' Slightly tilting your head toward your higher shoulder adds a touch of personality and warmth to the shot, making the portrait feel more approachable and less like a corporate ID badge.
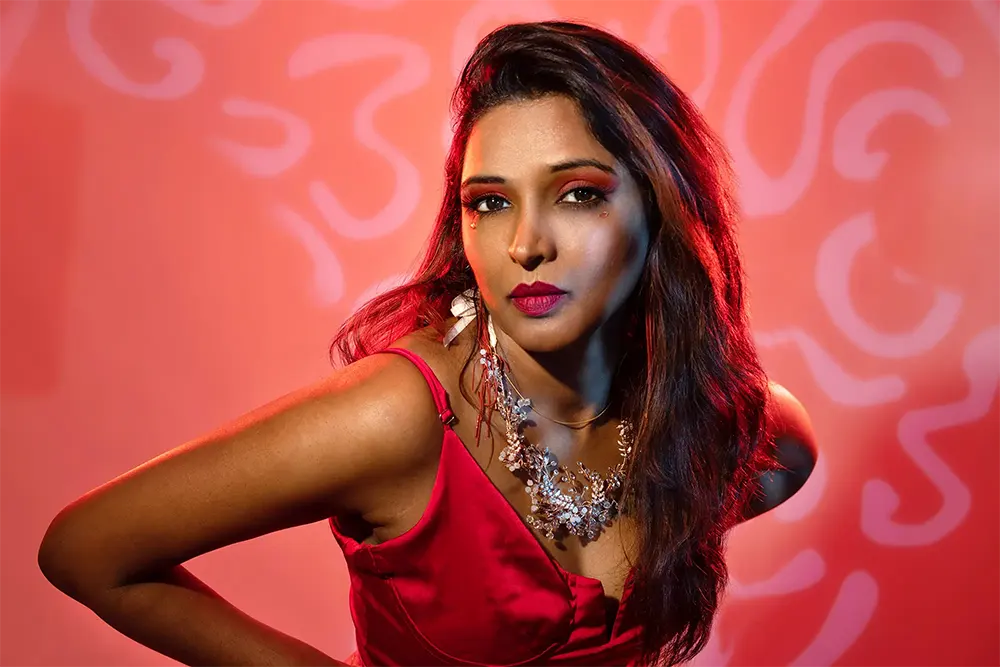
2. The Three-Quarter (3/4) Pose
The 3/4 pose captures you from the head down to the mid-thigh or knees. This is the perfect middle ground for branding photography. A favorite for beginners is the 'Hand in Pocket' or 'Thumb Hook.'
"The key to natural-looking hands is to give them a job. Whether it's lightly touching a blazer lapel or resting on a hip, purposeful movement prevents stiffness."
Try the 'Shoulder Cross': Cross your arms loosely, but keep your hands visible. Avoid tucking them away, which can look defensive. Keeping your hands light and relaxed—never clenched—is the secret to looking effortless.
3. The Full-Body Pose
Full-body shots require coordination from head to toe. The 'Walking Toward the Camera' pose is the easiest way to get a professional, candid result. Take slow, small steps while looking slightly off-camera or toward the lens. This naturally creates movement in your clothes and a relaxed posture.
For a static pose, try the 'Criss-Cross': Cross one foot in front of the other at the ankles. This narrows the hips and adds an editorial flair to the image. Remember to keep a slight bend in your knees; locked joints can look tense and static.
Technical Tips for Your Next Session
Consistency is key. Before your next shoot, spend five minutes in front of a full-length mirror practicing these shifts. Note which side you feel more comfortable on—everyone has a 'favorite' side! Most importantly, remember to breathe. Holding your breath leads to tension in the face and neck, whereas a deep exhale right before the shutter clicks relaxes your expression instantly.